
Project type : Video game teaser/trailer
Software used : Unreal Engine, 3dsMax, Substance 3D Painter, Marmoset Toolbag, ZBrush
Tags : Digital 3D, Game Art, Environmental Concept Art & Design Tutorials, Behemoth, Sci-Fi
« Behemoth » is a project I made during the last year of my Game Art studies at New 3dge. It was a graduation team project with 3 classmates (Mickael Floury, Madeleine Herold and Louis Monlaü). I was in charge of the spaceship interior and desertic planet props & environments, in the project. We had to create a game concept and make a 3D real-time cinematic in Unreal Engine.
( If you’re curious about the project, check those links: Real-Time Cinematic and Spaceship interior environment )
Inspirations
We took our inspirations in different things such as Evolve (for the coop system), the Star Farer in Star Citizen, Monster Hunter (mostly for the equipment system), some scenes posted on Artstation (like the Hallset by Quetzal Aguilar, for the lighting) or the Firefall Cinematic Trailer.
Logically, we chose Evolve as reference because, gameplay speaking, it is close to what we wanted for « Behemoth ». We liked its more mature vision, compared to Monster Hunter, its desaturated tons and semi-realistic render.
For everything related to armors and mecanic stuff, Pupeeter Lee’s works influenced us a lot. For the atmosphere, we wanted something heavy and dirty like in « Blame! » from Tsutomu Nihei.
Links to references: Evolve , Star Farer in Star Citizen , Monster Hunter , Hallset by Quetzal Aguilar , Firefall , Pupeeter Lee , Blame!
The Concept
« Behemoth » is a game concept project for a cooperative hack’n’slash in first or third person, in the line of Monster Hunter. One can play at three or four players in a mercenary team which mission is to hunt and kill gigantic monsters called Behemoths, in space and on outer planets with different biomes. In « Behemoth », you are the hunters !
So, in practice, what would it look like? The player, as a mercenary, would have quests to fill in exchange of gold, experience and rare items to level up his skills (on the same principle than The Witcher 3 from CD Projekt or Xenoblades Chronicles from Monolith Soft).
A Story solo mode would exist too in which the player would be able to solve some mysteries about, for example, the appearance and evolution of the Behemoths, in the style of Horizon Zero Dawn from Guerilla Games, with the machines.
Like in Monster Hunter, the « co-op » or « solo » game mode will be the player’s choice. The goal : earn and store different resources like gold, meat, materials (that you can find on Behemoths or planets) to trade or craft. Meals bring bonuses (stamina, health points and particular resistances). Money allows you to buy materials. Materials are used for crafting. But to craft what? Weapons, armors pieces, everything useful for the stuff.
Every character would have a character trait to assign, chosen by the player. This character trait corresponds to an additional characteristic useful for fighting.
Last but not least, the player will have to adapt himself AND adapt his equipment to the monster he will fight and the environment he will fight in. It adds a slight strategic side to all of this.
But what I will talk about, now, is the environmental part and mostly the spaceship interior because this is the main part of the project I worked on. (I worked with Mickaël on that environment. He made some FX shaders and technical stuff, and a few props. You can see his work on his Artstation page :D !)
The spaceship belongs to a group of mercenaries who hunt gigantic monsters called Behemoths, in space.
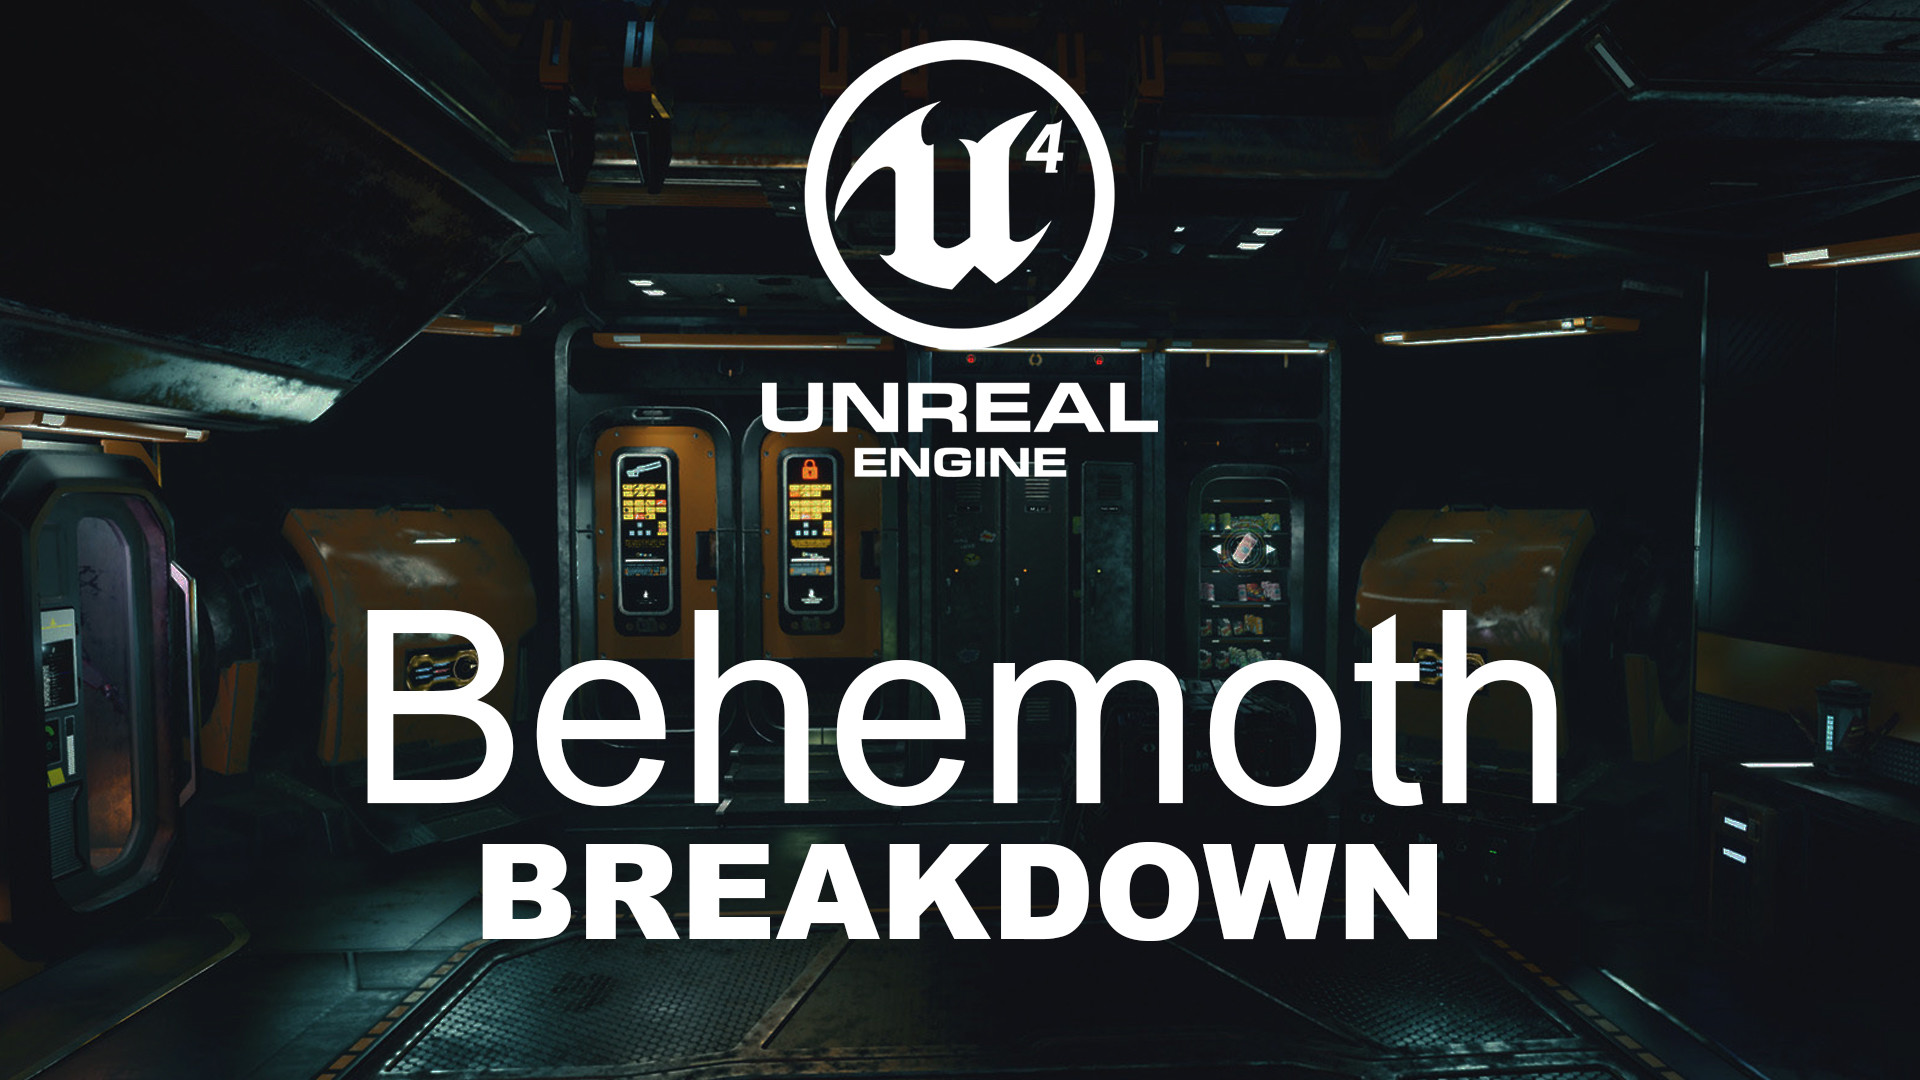
For the inside part, I wanted something useful and believable, with a dark, foggy and green-tainted atmosphere. The design is inspired by the StarFarer, as I said before, with metal, dark plastic and orange materials.
The Goals I had
In simple words, I wanted it to be :
– nice to the eyes (try to reach a AAA quality for the graphics or the closest to it)
– pragmatical (in the spaceship scene, everything had to have a purpose like in submarines, for example – to avoid useless objects)
– optimized for real-time (UE4 cinematic)
– an interesting video game concept (that could be marketable)
– a good time to have with your friends – if the game existed (online coop between 3 to 6 players)
– use new technical features like the VXGI for Unreal
Breakdown
We were a team of four people : one 2D concept artist (Louis), one 3D chara-artist (Madeleine), one tech/environment artist (Mickael) and one environment/props artist (me).
Of course, this is not so simple. Sometimes I had to make 2D concepts and tech stuff or Louis had to make 3D stuff, for example. But yeah, that was our main specialties.
The very first idea about the project was to « make a Monster-Hunter-like, but in space ».
As we discussed it, it evolved to become the project as we know it.
We established a simple pipeline for the project :
1) look for references
2) make 2D concepts
3) prepare a material library (by using Substance Painter)
4) modelise the assets in high (with 3Ds Max or Zbrush) and low poly versions
5) UVs and baking (I used the Marmoset Toolbag 3 baker tool)
6) texturing in Substance Painter
7) integration in the scene in Unreal Engine
For the spaceship interior, Mickaël and I made a top view map of the room, with the different textures areas and most important objects. It helped us to estimate how we could organize ourselves and optimize it (by re-using the same textures or assets at different places, etc).


The material library I prepared allowed me to quickly put the floor and walls textures in the scene and start to make some lighting tests.
I thought about the walls in a modular way. So I made different parts with different sizes. Some have patterns in it. Some have not. I prepared a plane with a metal texture to make the transitions between the modules. I made a metal gutter/plinth with a tiling texture that I could put at the bottom of every wall. You should always think about putting plinths in your interior environments because, even if we don’t pay attention to it when there are plinths, it feels weird when they aren’t there. It makes a transition between the wall and the floor and is a fundamental rule in architecture.


Then I prepared the 2D concepts of the assets I had to make. It gave me an overview about the homogeneity in the design : shapes, colors, materials, size of the object.
That was also useful to determinate the use of the assets : an armor storage, a weapon storage, an ammo storage (yes, a lot of storage, I know…), a very useful vending machine (I had so much fun doing it! – loved to invent the cans design), a planet hologram…
Sometimes I used a 3D base I had previously made in 3Ds Max, sometimes just photobashing and painting in Photoshop.


And then began the greyblocks, the sculpts and the first lighting tests…

I used to replace the greyblocks by the finished props in UE4 to see how the scene had progressively evolved. I also allowed me to adapt the lighting regarding the colors present in the scene. About the lighting, I want to personally thank one of our teachers at New 3dge (Guillaume Deschamps-Michel) who gave me really precious advices and tips to work the lighting in UE4!
If you’re curious about the complete project and want to know more about how we made it, see this video: Full Presentation Video
You will be able to see the characters, creatures, FX and other stuff Fat Space Otter Studio made for “Behemoth”!
So little by little, the scene was filled with finite props.
In general, for hard surface assets, I make a base in 3Ds Max, which I generally use as a low poly model. It avoids to “lose time” on the retopology part of the process. (But for organic assets, I generally begin in ZBrush and make a retopology after the sculpt.) Then I import it into ZBrush, to sculpt the details. When I’ve finished the high poly version, I re-import it in 3Ds Max just to see if my low poly model still fits with the high poly. If not (yeah, sometimes I modify the model when I get new ideas of design, for example, or if I don’t like the shape), I move the vertex and edges to fit the high poly. Then, I unwrap the model. I put the both of them in Marmoset Toolbag 3 for the baking. I bake the Normals, Normals (Object) and Ambient Occlusion maps. For the hologram, which is a “complex” asset with a lot of little parts but with repeated materials, I also prepared an ID map on Photoshop. I generally bake the other maps like the curvature, position and thickness maps directly in Substance Painter. The texturing part is in Substance Painter, where I sometimes add important details that I didn’t sculpt with alphas (some screws, bolts, handles, grids…).

I was in charge of the integration for the spaceship interior, so I had the chance to “play” with the Unreal shaders. For example, I made a moving texture for a screen in the scene.

I also prepared some shaders for the flickering lights on the ceiling. I used two methods for that. One with a sine node in the emissive texture. And the other by using a Light Function.


We were initially using the 4.15 version of UE4. But during the year, the 4.16 was released, with the volumetric lighting. Like the VXGI, the volumetric light was interesting to us as we wanted to put some new technical features in the project. So we moved the project to the 4.16.
And then, it was finished!
Of course, we had a lot of tweakering to do and bugs to solve, but we all had a lot of fun on this project and I’m happy it worked so well between us during the whole thing. It was a good team job!
Naturally, I’d like to thank all of our teachers at New 3dge who helped us on bugs and questions we had (especially Anthony Lemetayer for all the tech stuff, Yannick Gombart for the environment, Guillaume Deschamps-Michel for the lighting, Cedric Seaut and Marco Plouffe for the characters…)


PS: Another thing that inspired me a lot for the project is music. Of course, I always listen to music while I’m working but here, I listened things like the Evolve OST or Transformers OST to be in a good mood with some action or epic music.
Evolve OST & Transformers OST ;)


